Tuesday, January 15, 2013

More Styrofoam


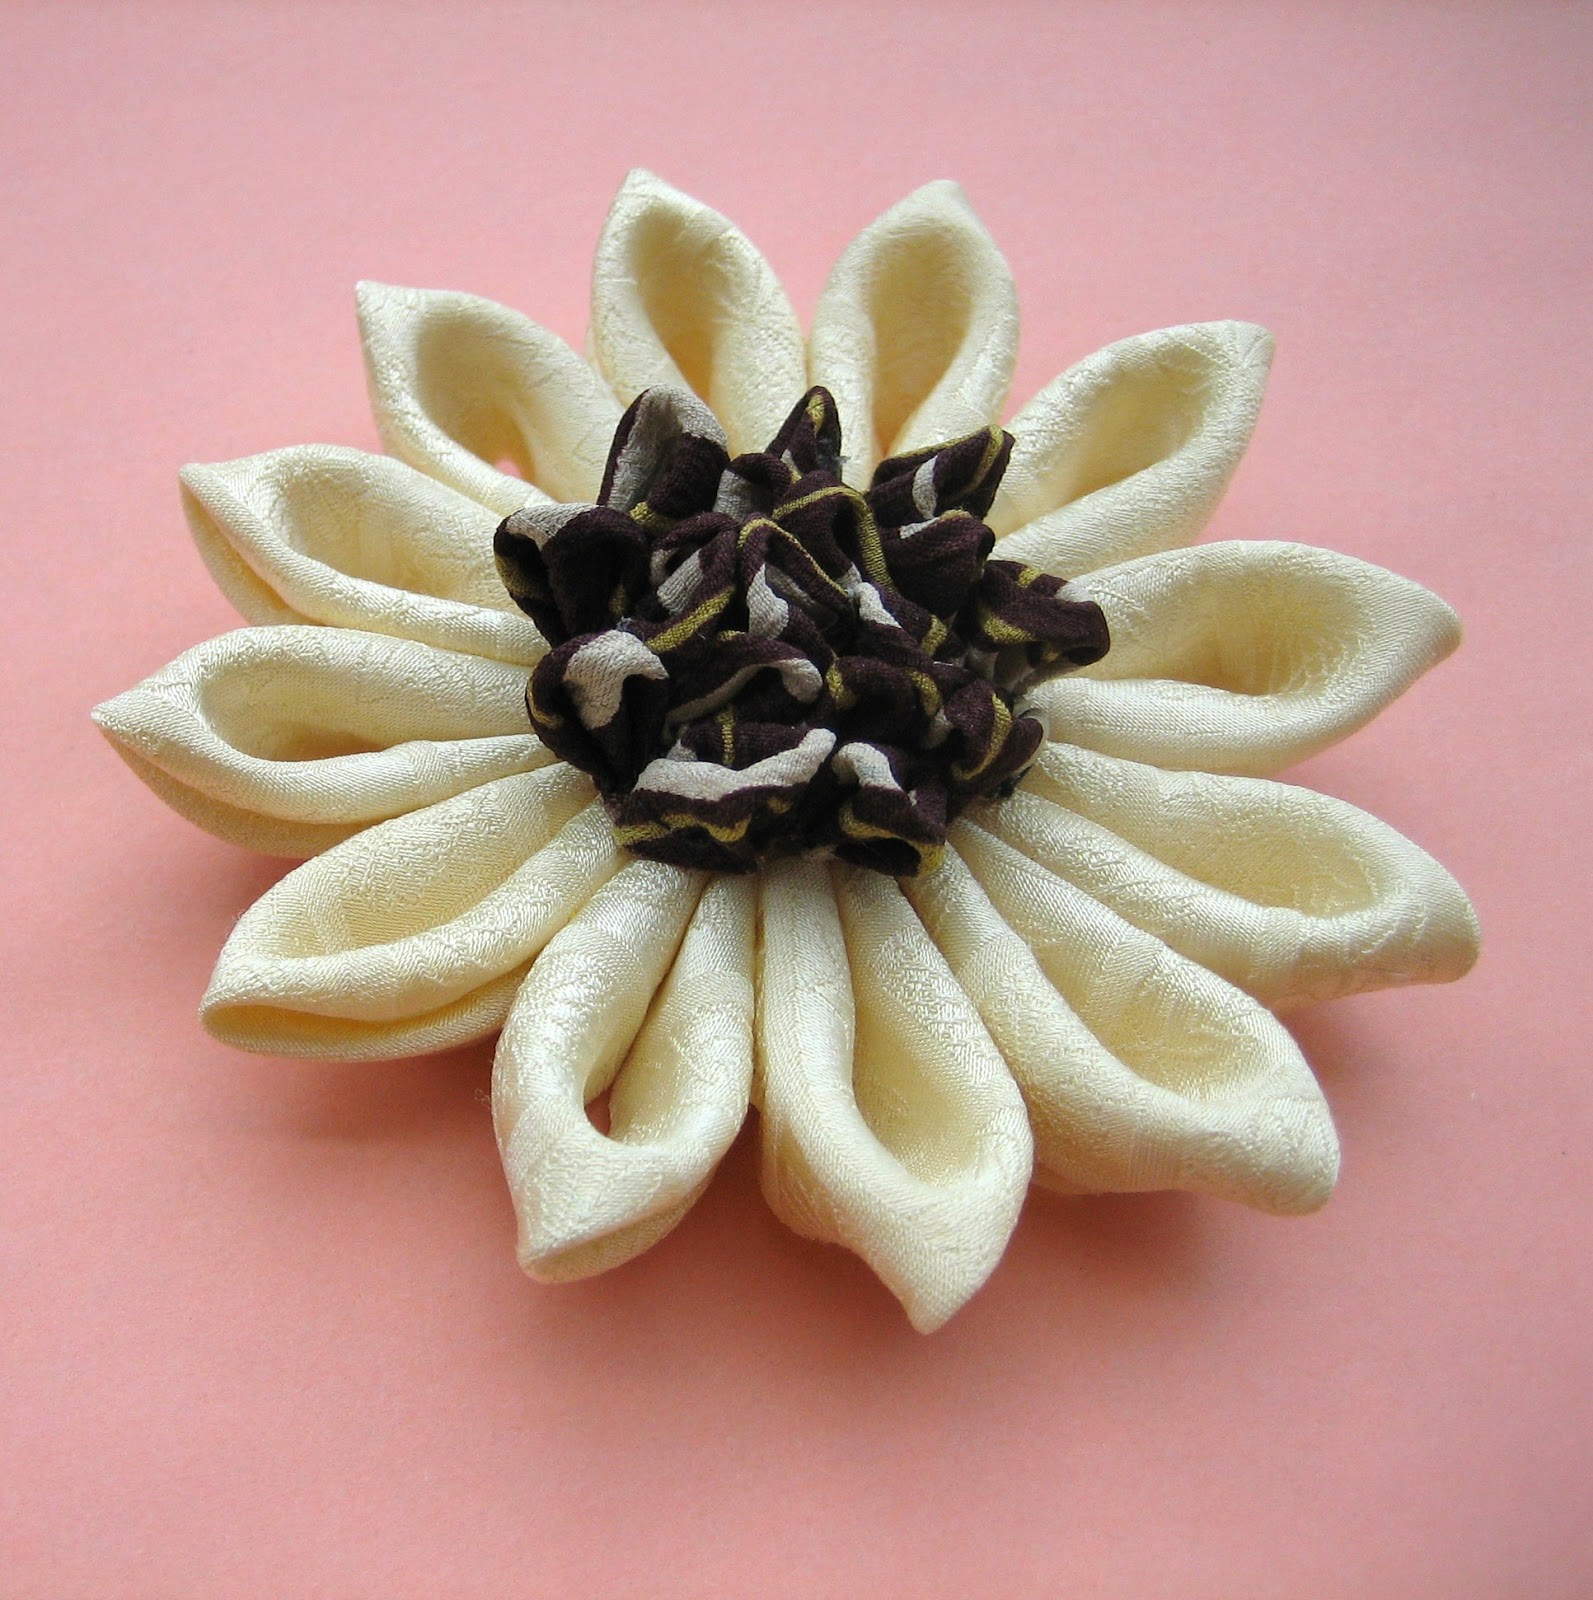
This one's just a quickie. Some months ago, Helen waxed on and on about ways to finish your kanzashi flowers. She came up with a hare-brained EZ method of creating a flower center from styrofoam covered with the fabric you've been using. Here's a little example of that first one she did:


Not bad for an amateur. Buy 'em here https://www.etsy.com/listing/115257962/blue-brown-flower-hair-clips-kanzashi Now, I'm going to give you a tip, if you're interested in doing this little trick. Shape your styrofoam center with a pair of scissors....not the good ones for fabric, but some less good ones. The ones you use to cut paper. The scissors just seem to give you enhanced control, and the shape might come out a little more regular, if that's what you're into. Here's Helen's latest:


Here, she has covered the center with the reverse of the fabric, a nice effect you can try, too. Or buy it here https://www.etsy.com/listing/120101754/red-flower-brooch-or-hair-clip

Friday, January 11, 2013

Kanzashi Headbands


Happy New Year! It's January, and I'm cold, but I'm continuing to feel better, even playing every day with twist ties and a funny ball that rolls in unexpected ways. Boy, I wasn't interested in that last fall! I still hate the subcutaneous fluids that Helen has to give me twice a week, but at least she has found ways to make me more comfortable....making the fluid warmer, and so forth.

Helen decided to start the new year with her first kanzashi headbands. They are both intended to evoke the image of the crown of laurel leaves that a Greek goddess would wear, or something. Here's one in black dupioni silk.....


Dupioni silk works beautifully for this kind of leaf design. Since rounded flower petals in dupioni can get a bit squooshed, Helen decided to layer them, for added oomph. 

Wednesday, December 19, 2012

Self-Imposed Christmas Challenges


Well, it's cold now, and Helen likes to save energy. The house is freezing most of the time, so I spend an awful lot of hours huddled next to the bathroom heat vent. When the door is opened just the right amount, I can create my own little warm micro-environment. This is how I plan to get through the winter, and probably the spring, too.

Recently, Helen's friend J9 was buying fabric at Mood Fabrics in New York, and grabbed some samples to send to Helen. Some of those swatches were pretty tiny! Helen loved the richness of the silk brocades, though, and became smitten with the idea of using them. The fabrics were mostly rich ruby reds or maroons, and you know, it's Christmas, soon. The only choice was to make some "sampler" flowers.

Since the swatches were mostly long and skinny, Helen's largest squares were about 1 5/8 inches, a size she had always avoided. She just managed to get rounded petals out of them, and came up with this pair of ume, or plum flowers.....


Buy them here https://www.etsy.com/listing/118890008/red-flower-hair-clips-kanzashi-silk . Next, she made triangular petals with the really small squares, and came up with this pair of flowers that resembles hellebores, sort of...


Here they are in the Etsy shop https://www.etsy.com/listing/118774650/red-flower-hair-clips-kanzashi-silk

So. She really didn't have to go through all that to make her first sampler flowers, something she had been thinking about for a long time. She could have used normal-sized squares of some fabrics she already had, rather than have the stress of being such a miniaturist. But oh well, that's the way things happen sometimes. Better late than never!

Remember Helen's kikyo? The blue Chinese bell flower that she started back in September? Even though it's not exactly seasonal, Helen wanted to complete it. Here's how it turned out......


Buy it here https://www.etsy.com/listing/118826268/blue-flower-brooch-kanzashi-kikyu Happy Holidays, and try to stay warm!

Friday, December 7, 2012

Christmas Kanzashi (with a little tutorial)


Goodness, it's been so long since I last posted anything! As you can imagine, Helen and
I have been extremely busy. I had some....uh, digestive problems which needed two different courses of anti-biotics to resolve. Then, I had another sort of digestive problem which needed an antacid. Then, there was the matter of this one area I was using as a powder room, which apparently isn't a powder room. Helen got very upset about that....how was I to know? Meanwhile, Helen has been playing a million concerts this month. She managed to squeeze in as many as two kanzashi pieces since I last posted, a headband for her friend Robin, and a Christmas wreath pin!

We're starting to see more and more Christmas kanzashi....some inventive poinsettias and holly, as well as this beautiful snowflake from Ivanna on Etsy www.ivanna.etsy.com ....


and this fabulous Christmas tree from Designs In Blooms on Etsy www.designsinblooms.etsy.com ...

 
Helen loves wreaths, and decided to create one. Here's what she did, and you can try it too! First, she made 30 pointy petals (yep, 30, it's a labor intensive project). She used 1.5 inch squares, but you can probably use any size you want. She glued then together in groups of 3, like this...
 
 
...then, she glued the groups of 3 on top of each other at a slight angle, in the following manner...
 
 
See where I'm going with this? Just glue them on top of each other so that you can form a circle once you've got 10 of them.  OK, once you have your circle completed, decorate it with things like a bow, or some beads to represent Christmas ball ornaments or something! Helen made hers into a brooch...
 
 
The beautiful green taffeta that Helen used is really hard to photograph effectively, so Helen is going to sell this one at her friend Angela's craft fair in a couple weeks, rather than post it on Etsy. If you're in Milwaukee on December 22nd, find them at the Last Ditch Effort Holiday Bazaar at the Kings Commons Studio and Gallery, 2767 Martin Luther King Drive. It's hosted by The Zen Dragonfly. See you there!


Sunday, November 11, 2012

Japanese Maple Leaves and Their Stems


It's been so long since I posted anything! So sorry. I want to thank everyone for all the lovely well-wishes. I'm feeling MUCH better! Yep, I have kidney disease, and I spent a fair amount of time in the kitty hospital, but I'm doing pretty well, now. I have a special new low protein diet, and Helen has to give me subcutaneous fluids twice a week. I'm not enjoying that process, BTW, but what can I do? We might be able to reduce the frequency if my blood numbers show progress at my next veterinary visit. The doctor was very impressed last time.

OK, so it's fall, isn't it? If Helen and I had had more time last month, we would have talked about this earlier, but better late than never.We both love Japanese maple leaf kanzashi. They're just so pretty. But you know what, in almost every example I can find, I don't like the leaf stems.....I'm not going to show you pictures, but typically, stems look awkward, pasted on, not organic. I don't know....I asked Helen if she could come up with something better, and here's a little mini-tutorial to show you Another Way.

All you accomplished kanzashi-makers will know that to create a Japanese maple leaf, you want to make 5 or more long skinny petals. Helen likes to make 3 of about the same length for the middle of the leaf, and 2 more a little shorter for the outer part of the leaf. Now, about the stem.

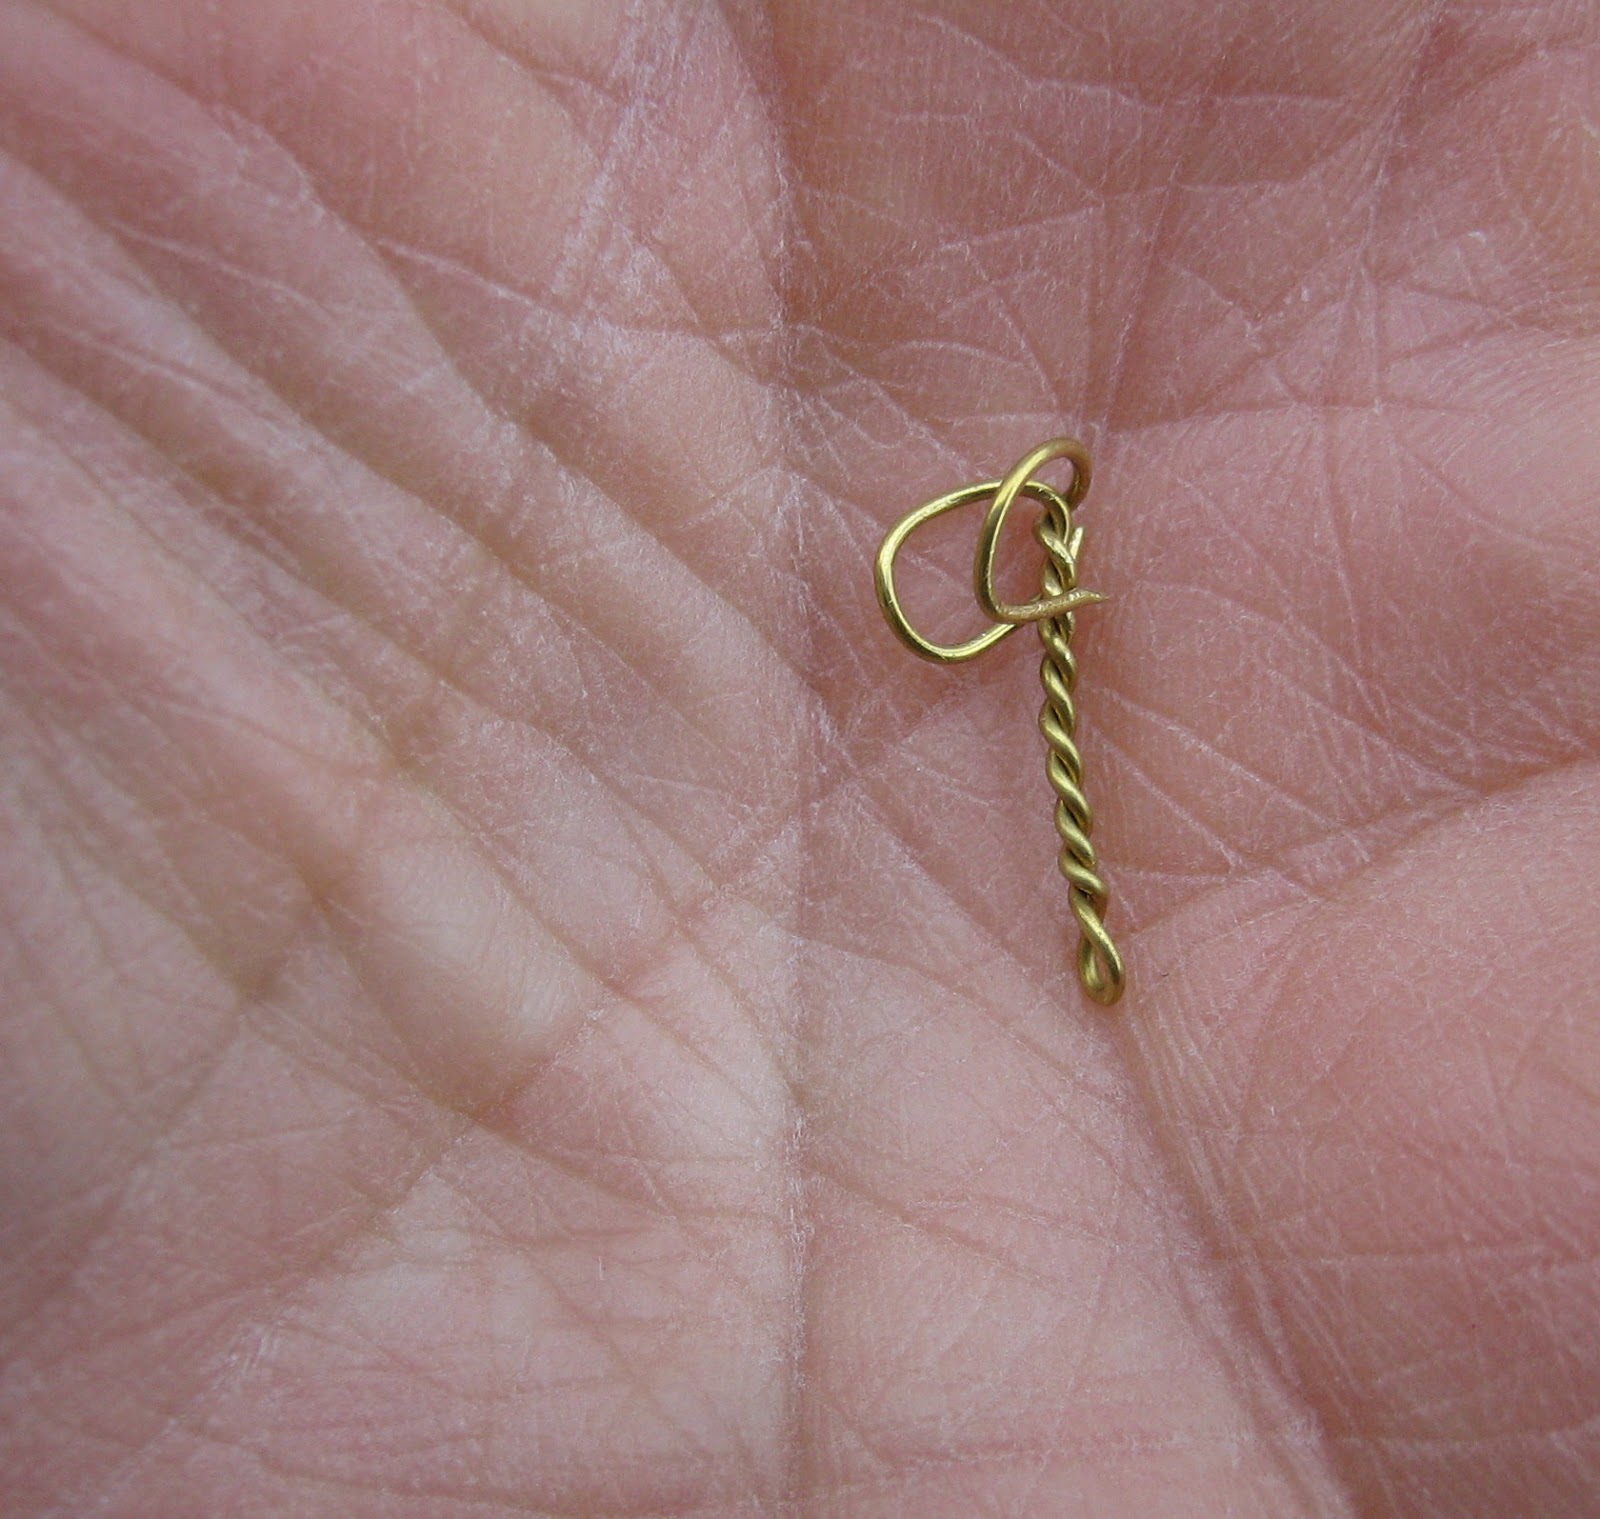
Try this: cut about a 3 inch piece of wire and twist it from the center, like this...


making loops with the ends, and folding them together, like this...


Now that you have your loops, you can sew them to the center "lobe" of your leaf....simply insert the lobe (petal) inside the folded loops. Sew as you would a "hook and eye" type fastener. The stem part of the wire is on top of the leaf, like this...

 
Here's a side view....click for bigger!


All right, now put together the rest of your leaf. Helen sewed on the middle lobes and then glued the outer ones.....it might have been OK to glue all of them. The reason she did some sewing was because she was unsure about what bead to sew at the base of the leaf, and didn't want to try sewing through hardened hot glue. Here are two completed maple leaves mounted on snap clips....
 
 
The small aventurine beads help to obscure raw edges at the base of the leaves.
 
So, this is just one way to accomplish a Japanese maple leaf! We would LOVE to hear from you about the way you like to do it. Sharing ideas is what promotes progress, right?


Saturday, October 13, 2012

Guest Blogger: Helen

I'm Helen, Sadie's person. Sadie just got back from the kitty hospital becasue of kidney failure. She was treated with fluid therapy, and did very well. Last week, I became very concerned about her, because she wasn't eating, didn't seem to be grooming, and spent a lot of time crouched next to her water bowl. People on the Facebooks strongly suggested that I take her to the vet. She had just been there less than 2 weeks earlier, but I took her, and I'm glad I did. It was pretty expensive, but she's eating really really well, now.

So, while Sadie is resting, I thought I'd write an article about finishing your kanzashi, which I've been thinking about lately. Let's say you've made all your flower petals and have glued or sewn them together. Now you most likely have the task of covering up a bunch of raw edges in the center of the flower. What can you use? The easiest thing to do is glue something in there, if you are so lucky as to have just the right thing. I was lucky to have a glass "pebble" to glue in the center of this silk brocade flower...

 
...I also sew lots of beads into the centers of my flowers, such as the onyx in the middle of these silk snap clip flowers...
 
 
I don't use stamens, but many kanzashi makers do. One of my favorites for this practice is Polished Kanzashi on Etsy www.polishedkanzashi.etsy.com . I admire the naturalistic beauty of her handmade clay stamens...
 
 
Another perennial favorite of mine is Emily from Cuttlefishlove on Etsy www.cuttlefishlove.etsy.com . Emily's unique assemblages of fabric and I-don't-know-what-else in her flower centers give the flowers a distinctive look...
 
 
I've seen many buttons in the centers of kanzashi. These can look relatively casual, as in this creation of mine from a couple years ago...
 
 
...or they can look dressy, as in this collar ornament for well-dressed dogs from Arcadius Elegantly Dog on Etsy www.arcadiuselegantlydog.etsy.com ...
 
 
Many people combine beads or little rhinestones with inside-out bead covers, which they glue on (I think?), as in this example from Magpie Creations on Etsy www.magpiecanada.etsy.com
 
 
Or, you can use yet more kanzashi petals, as I did for this sunflower for sale here https://www.etsy.com/listing/105110135/yellow-flower-hair-clip-or-brooch 
 
 
OK, now what can you do when none of that stuff works? I had a situation like that myself, just recently. I tried all sorts of things. None of my beads looked good. I wanted the design to look inevitable, rather than...I don't know, desperate? I decided to make something like cover buttons, but didn't want to mess with actual cover buttons. What could I use instead?
 
All hail styrofoam.
 
When I was a child, I used to visit with my father down at his basement workbench. To keep me occupied, he gave me blocks of styrofoam, into which I hammered nails. We called this "happy wood", for some reason. Anyway, I still save stuff like styrofoam, and I never knew why, but maybe now I do!
 
Here's what you can do: take some styrofoam packing material....you can use the blocky kind, or you could probably even try the peanuts kind. Use a kitchen knife to carve out a piece the size you want. It should probably be relatively flat, with a slightly concave underside. It doesn't have to be perfectly round. If the underside is slightly concave, that's good. Now, cut a piece of fabric to glue over it. Here's mine....the piece of fabric could have been smaller, perhaps...
 
 
Gosh, I have dry skin. OK, use a hot glue gun to cover your styrofoam with fabric. Glue it into the center of your flower, and voila.....
 
 
This flower is part of a snap clip pair...


So, long live styrofoam and other packing materials. If you use them this way, you will be keeping them out of landfills, if nothing else! What other non-traditional materials do you use for your flower centers? Let me know; legions of kanzashi makers are waiting to find out!


Monday, October 1, 2012

Uh-Oh, Film Festival...


So, Helen is into cinema. Not distractedly so, but she likes a good movie, and is drawn to indie films. When the Milwaukee Film Festival http://mkefilm.org/ happens, all bets are off. She goes to as many films as she can, and deciding which ones to view is a momentous decision, requiring all sorts of study, schedule juggling, checking of Netflix, etc., etc. Last year, Helen was busy making stuff for a gallery (which sold almost nothing) during the festival, so she missed the entire thing. This year, I suspect little or no kanzashi will be made. It's going to be work, eat, sleep, watch movies. I shall not be partaking, as there aren't any films about cats, so why would I care?

Meanwhile, I thought I'd post an oddity that Helen made a while ago. Back when Helen first started making hair accessories, her friend Marcia commissioned a matching Tudor Rose hair clip and boutonniere as a wedding present for some hardcore Ren Faire junkies. Helen didn't even know about kanzashi back then, and made everything using singed fabric. Here's what she came up with:


Not too bad I guess, but check out the latest kanzashi version of the same thing:


Whaddya think? Better? Helen's friend Irene bought one of these, and she particularly liked the way the kanzashi flower appeared to be "carved", which is the way Tudor Roses in England are frequently found. To read more about it (or buy it!) check out the Etsy listing here https://www.etsy.com/listing/53982760/tudor-rose-brooch-or-hair-clip

So, um, I don't know how much time I'll have to post for the next couple weeks....uh, I'm a very busy cat, you know.

UPDATE: This item has been in a few Etsy treasuries, but here's a new one specifically about the War of the Roses http://www.etsy.com/treasury/MTQ0ODQ2MDR8MjcyMDgxODM3Mw/the-war-of-the-roses?ref=af_shop_tre