Friday, June 26, 2015
You're Making What? by Helen
I have recently been engaged in an online course called Creative Badass Challenge, and today's challenge is to share something personal in a blog post or social media platform. It should be authentic, revealing your soft underbelly, suggests the course's author, Dave Conrey. Vulnerability. Problems, maybe. Discomfort. Well, I've got plenty of all those things, but the thing I'm choosing to write about is that around here where I live, NOBODY WEARS WHAT I'M MAKING. And I feel weird about it. And that's all. Let me explain.
In February of 2014, a guy in New York asked me to make him some kanzashi lapel flowers for men. I had previously been making only women's hair accessories, brooches, necklaces and bracelets. I had never before seen the application that this guy was talking about (BTW, what became of you, Don, and what have you done with my flowers?). I still haven't seen one on an actual human being, except for a few guys around here who wear mine, intending to sell some of them. Fast forward to now, June of 2015, I have seen lapel flowers only in fashion photographs, and in some guys' personal photos on Instagram. Every once in a while, a friend tells me of a sighting of such a thing on TV. I can only conclude that what I'm making is a nascent fashion trend that has not yet established itself in the Midwest. I do sell these things, and I sometimes mail orders to Midwest addresses, but they are an uncommon observance in my life.
So, why am I making them? More importantly, why am I changing the focus of my entire Etsy shop and Instagram feed to men's accessories? Four really good reasons!
1. I can use any colors I want. I don't have to worry if the colors or fabric I choose are going to go with some gal's dress. This is liberating! The flower can blend with a jacket or contrast with it; I feel like I have so much freedom.
2. They sell way faster than women's stuff. I got proof. When I look at the numbers, I have sold about twice as much stuff since I sold my first lapel flower, as in the previous year, and that's just counting the men's accessories (including lapel buttons, lapel bow tie pins and button cuff links).
3. I can charge twice as much. For example, a pair of kanzashi flower hair clips goes for $25; take one of the flowers, put it on a tie tack, and that alone sells for $25. What can be bad, as my mother used to say?
4. I get at least three times the attention on Instagram for the men's items, as for the women's things. Who wouldn't be drawn towards making more men's accessories?
Clearly, I'm going to have to be patient. I hope to see more of what I make become more commonplace, even around here, in the next few years, so that people understand what the hell I'm doing. I'm using a lot of energy, here! And I'm soon going to change the name of my Etsy shop, as well as other things. So far, follow me on Instagram @exquisitelapel.
Wednesday, June 17, 2015
Alvin's Wedding
A while ago, a guy contacted Helen about kanzashi boutonnieres that he wanted for his wedding in September. Helen and Alvin emailed each other quite a bit, discussing the merits of various fabrics, shapes, colors, etc. Alvin eventually settled on a particular design, and Helen made 8 lapel flowers for him. Here are some of the photos she took of her process.
First, cutting fabrics with a rotary cutter and a cutting board. We used a lavender kimono silk that came from Helen's Kanzashi Fairy Godmother in Japan (it was in the box I'm sitting on, in the above photo!) and a silver grey dupioni silk that Helen got from Patrice . Helen used 2.25 inch squares for the lavender, and 1.5 inch squares for the grey.
Helen decided to sew these petals, because she would be adding pearl beads later, and it's way easier to sew beads into the center of a flower that doesn't have rice glue on the petal edges. Here are all the petals ready to go.....
Next, petals glued into 4-petal flowers....
Pearls sewn into centers with nylon beading cord......
.......leaves added, and flowers mounted on tie tack findings.
So, that was fun, and Helen is hoping to find more grooms and groomsmen! Meanwhile, Helen started participating in a thing called the Creative Badass Challenge . It is one month full of difficult things to do and think about, aimed at helping creative business owners to work better. One of the challenges was fun.....it was about getting messy, throwing caution to the winds, making something that we are not intending to sell. Helen decided to try making a flower that has a different fabric for every petal. She was worried that the different textures would be a problem, but a chrysanthemum-shaped flower seems to be able to handle that OK. Here's what she came up with....
Sunday, April 5, 2015
News and Stuff
So, it's been around 3 months since I've posted anything at all, I understand. Well, Helen has had quite the schedule of heavy lifting working for these people . That's mostly it, no other excuses. I'm enjoying my afterlife here...it's fun. I don't know why some humans call it the Rainbow Bridge....I don't see any bridges or rainbows. Just lots of nice cats, all of whom I like, and plenty of mice for if you're hungry.
I thought I would post a few newsy items since well, kanzashi productivity has been down some. Helen contacted this gal Sara on the Instagrams....Sara lives in New York and likes to wear men's clothing, and she blogs about it here . Sara has a great big following, and Helen was very happy that Sara was interested in modeling a couple kanzashi lapel flowers. Here's a photo of the first one that Sara chose.....
Here's another one.....
Dapper, no? Check it out on Sara's website for more pix!
Meanwhile, Helen's friend Angela was cleaning out her sewing space, and offered fabric remnants to all interested parties on the Facebooks! Helen grabbed a small bag of African cotton prints. Here are a few of her new African cotton lapel flowers:
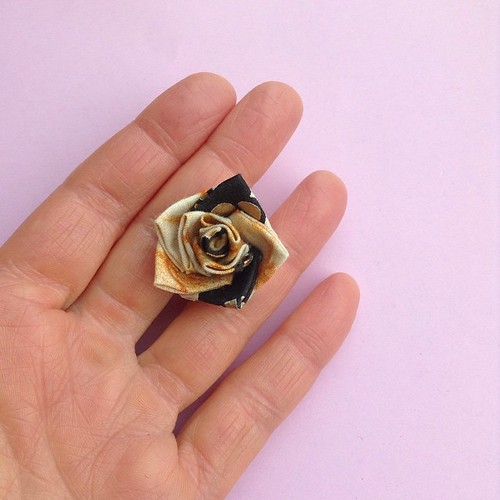
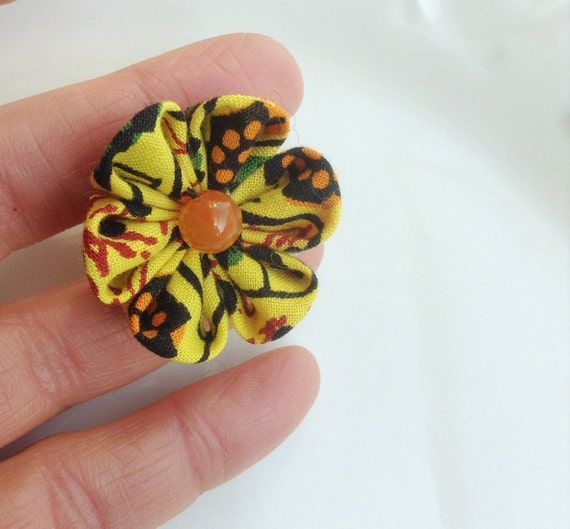
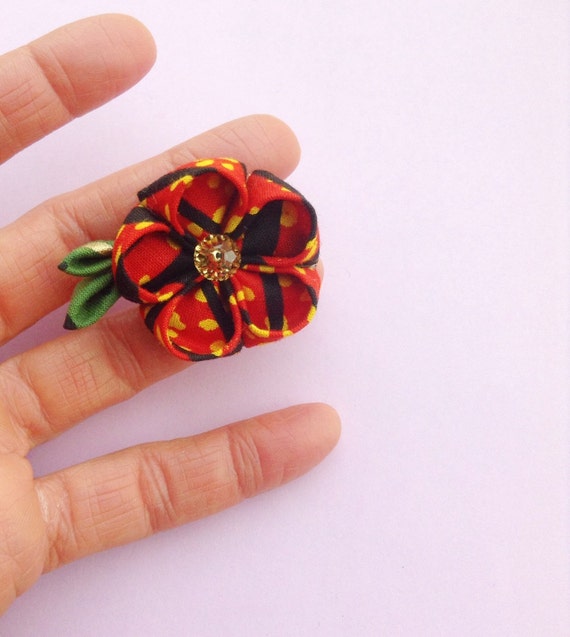
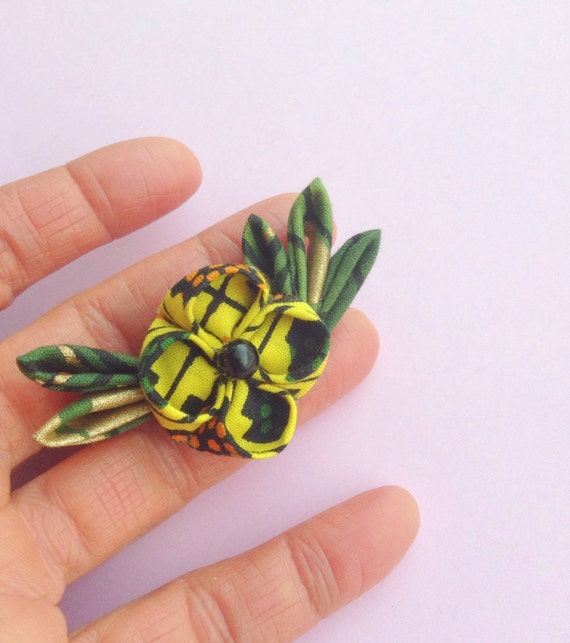
There's more, but we'll save it. There are other folks on Instagram who have offered their photography and modeling services.....we'll be posting more of these as they come to fruition. Meanwhile, here are a few more new fun lapel flowers!
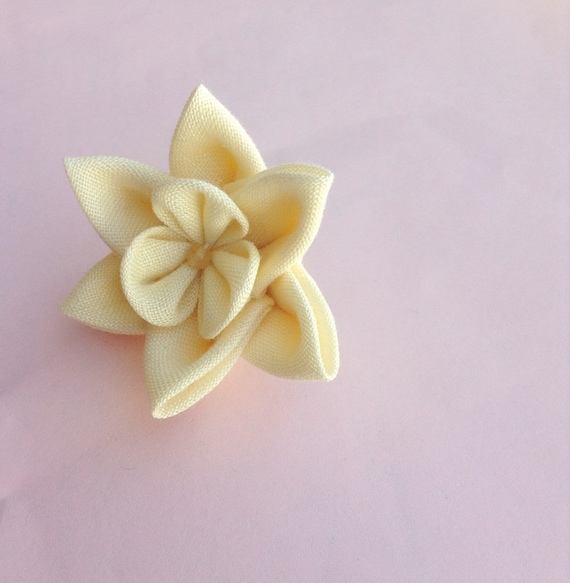
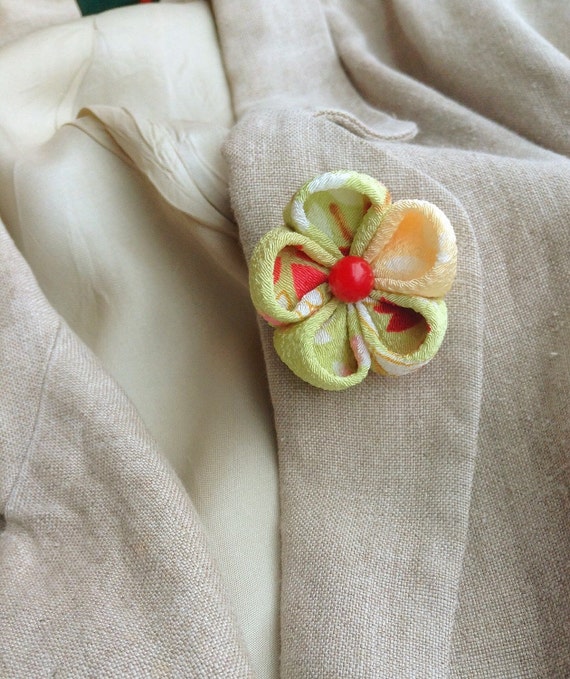
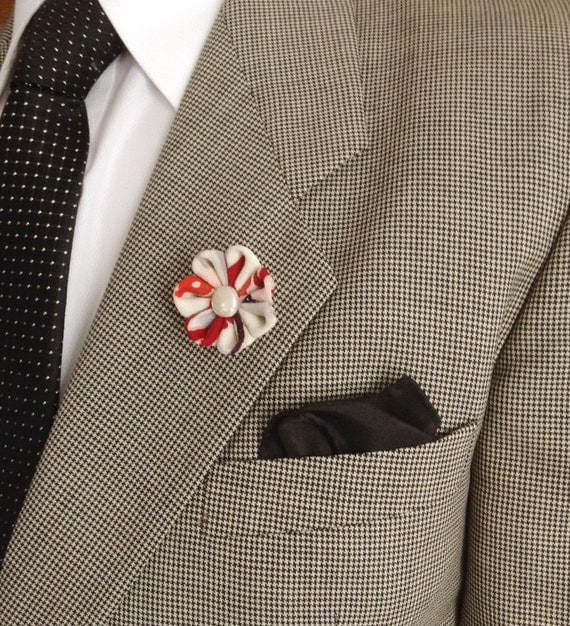
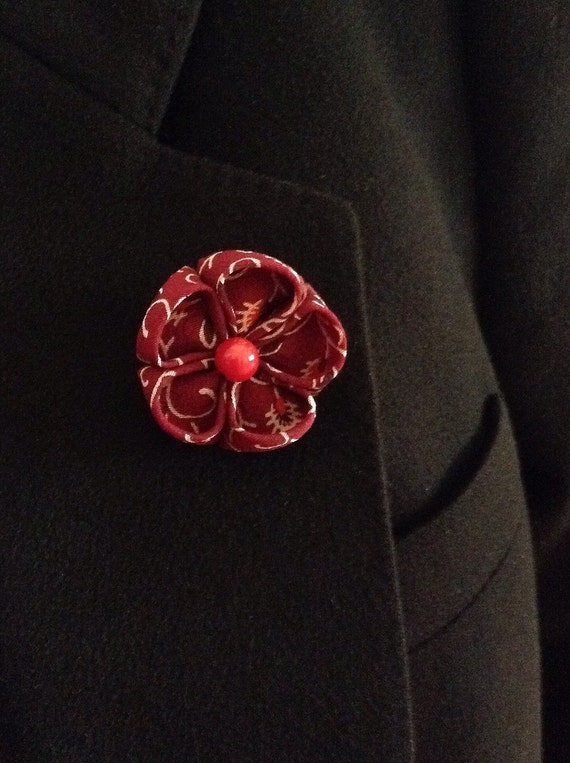
Buy 'em all here !
Saturday, January 3, 2015
Kanzashi Bow Tie Lapel Pin Tutorial
Sadie here, blogging from the beyond. Now, about a year ago, Helen was trying to make the traditional asagao, or morning glory petal shapes.....there are two of them, and Helen would have loved to have figured out either one of them, but she couldn't. The only thing left to do was to to make up her own. The petal she came up with is quite unorthodox in the kanzashi world, as it requires folding a square of fabric roughly into 3, like this....
...Be sure that the raw edge isn't too close to the folded edge. Helen used 2.5 inch squares of vintage kimono silk for these, just to give you an idea of the size. Now, fold your rectangle in half.....
.....and now pinch it in the middle and secure it with a hair pin, or something.....
Make two, and get them to be about the same size and shape. So, now you can sew or glue them together, whichever works for you at the moment, and then cut off the excess fabric, of course, the way you would with any kanzashi petal. OK, now hot glue the two petals together at their skinniest point.....this is just to help make the final assembly easier....
OK, stage 1 is done. Now, cut a little fabric for the center. You may want to cut it on the bias, but it is not always necessary. Helen used a strip of fabric about 1.5 inches wide, folded it in thirds, and secured it with hair pins....
OK, now find a part you like for the bow tie center and drape it LOOSELY over the bow.....
...and glue the strip to the back of the bow accordingly.....
....and now glue the other end onto the back....
and cut it.
OK, now is the point where I have to apologize, because I wasn't around to supervise. Helen forgot to take a picture of the next step, which is to glue down these raw edges and glue the pin end of blank tie tack to the back. You need to use a tie tack finding with a very small pin base....it should look a little like a nail. Sorry about that! All right, next, cut a small oval of fabric for the backing, probably sticking with the same fabric you have been using.....
The oval can probably be skinnier, but you can always take away! Now stick the center of the oval through the tie tack pin.....
....and glue the fabric onto the pin base and also glue the edges down, making sure your backing doesn't extend too far, because we don't want it to be visible. Now is the time to make the oval skinnier if you need to. The backing covers raw edges and also protects and reinforces the pin.....
....and voila, there is your bow tie lapel pin!
Subscribe to:
Comments (Atom)


